

Turn a Mac at home into a private personal server you can access from an iPhone with Tailscale, SSH, and tmux—without router port forwarding.
Photo by Annie Spratt on Unsplash.
Your Mac at home can be a surprisingly useful personal server. With Tailscale, SSH, and tmux, you can open a terminal from an iPhone, start a build or coding agent, close the mobile app, and reconnect later without losing the process.
No router port forwarding. No public VPS. No SSH service exposed directly to the internet.
This guide uses the simplest reliable setup:
The Mac must be powered on and connected to the internet. tmux survives an SSH disconnect, but it cannot keep a sleeping Mac reachable. For long-running jobs, we will use macOS's built-in caffeinate command.
For most people, install the official macOS app from tailscale.com/download, open it, and sign in.
If you prefer Homebrew:
brew install --cask tailscale
Open Tailscale and log in with the same account you will use on the iPhone. Then verify that the Mac is connected:
tailscale status
tailscale ip -4
The second command should return a private Tailscale address in the 100.x.y.z range.
You can also use the Mac's MagicDNS hostname instead of its IP address. In the Tailscale admin console, give the Mac a short, recognizable device name such as home-mac.
Open:
System Settings → General → Sharing → Remote Login
Turn it on and restrict access to Only these users. Select the macOS account that will run your development jobs.
From Terminal, confirm the current user and SSH setting:
whoami
sudo systemsetup -getremotelogin
The value from whoami is your SSH username. It is your local macOS account name, not your Apple ID email address.
If you prefer the command line, enable Remote Login with:
sudo systemsetup -setremotelogin on
Before involving the iPhone, test SSH from another computer that is already on your tailnet:
ssh YOUR_MAC_USERNAME@100.x.y.z
Replace both placeholders. If this works, the Mac-side configuration is ready.
Install tmux with Homebrew:
brew install tmux
tmux -V
Create or reattach to one named session:
tmux new-session -A -s main
Inside tmux, start a job:
npm run build
To leave the session running while disconnecting SSH, press:
Ctrl-b, then d
That is tmux's default detach shortcut. The process keeps running on the Mac.
Reconnect later with:
tmux attach -t main
You can list sessions if you forget the name:
tmux ls
A disconnected SSH client does not stop tmux, but macOS sleep can stop network access or pause your workload.
Run a command through caffeinate when the Mac must stay awake:
caffeinate -dimsu npm run build
For a long-running coding agent:
caffeinate -dimsu ./run-agent.sh
If the command exits, caffeinate exits too. This avoids changing permanent power settings just for one job. Make sure the Mac is plugged in and has enough disk space and memory for the workload.
Install Tailscale from the App Store and sign in with the same account as the Mac. Turn the VPN on and confirm the Mac appears as an online device.
Then install an SSH client.
Create a new host with:
| Field | Value |
|---|---|
| Alias | Home Mac |
| Hostname | The Mac's Tailscale IP or MagicDNS name |
| Port | 22 |
| Username | The value from whoami |
| Authentication | SSH key, recommended |
For a first test, password authentication also works. Use the Mac's local login password—not necessarily the password for your Apple ID.
Once connected:
tmux new-session -A -s main
You now have a persistent remote development terminal in your pocket.
Password login is convenient for the first test, but an Ed25519 key is a better daily setup.
Create an Ed25519 key in Termius or Blink and copy its public key. On the Mac, add it to authorized_keys:
mkdir -p ~/.ssh
chmod 700 ~/.ssh
touch ~/.ssh/authorized_keys
chmod 600 ~/.ssh/authorized_keys
nano ~/.ssh/authorized_keys
Paste the public key as one complete line, save, and reconnect using that key.
Do not disable password authentication until key login has been tested successfully. Keep a second recovery path available in case the key is pasted incorrectly.
Tailscale SSH can manage SSH authentication and authorization through your tailnet policy. It is useful when you want identity-based access instead of distributing SSH keys.
On macOS, the Tailscale SSH server requires the open-source tailscaled variant; the sandboxed App Store build cannot act as a Tailscale SSH server. For a standard personal Mac setup, regular macOS SSH over the Tailscale network is usually simpler and already avoids exposing port 22 publicly.
Read the current requirements in the Tailscale SSH documentation before switching.
Sign in on the Mac and iPhone with the same Tailscale account. On the Mac:
tailscale up
tailscale status
Check that Remote Login is enabled:
sudo systemsetup -getremotelogin
It should report "Remote Login: On". Also confirm that you are using the Mac's Tailscale IP, not its local Wi-Fi address.
From another tailnet device:
tailscale ping home-mac
If the ping fails, check that both Tailscale apps are active and that the Mac is awake.
List existing sessions:
tmux ls
If none exist, create one:
tmux new-session -s main
Make sure it was started inside tmux. For jobs that require the Mac to remain awake, run them through caffeinate:
caffeinate -dimsu your-command
The result is a small, private, and inexpensive personal server: your Mac stays at home, while your terminal travels with you.
Further reading: Tailscale SSH, Tailscale on macOS, and tmux.
Continue exploring similar topics
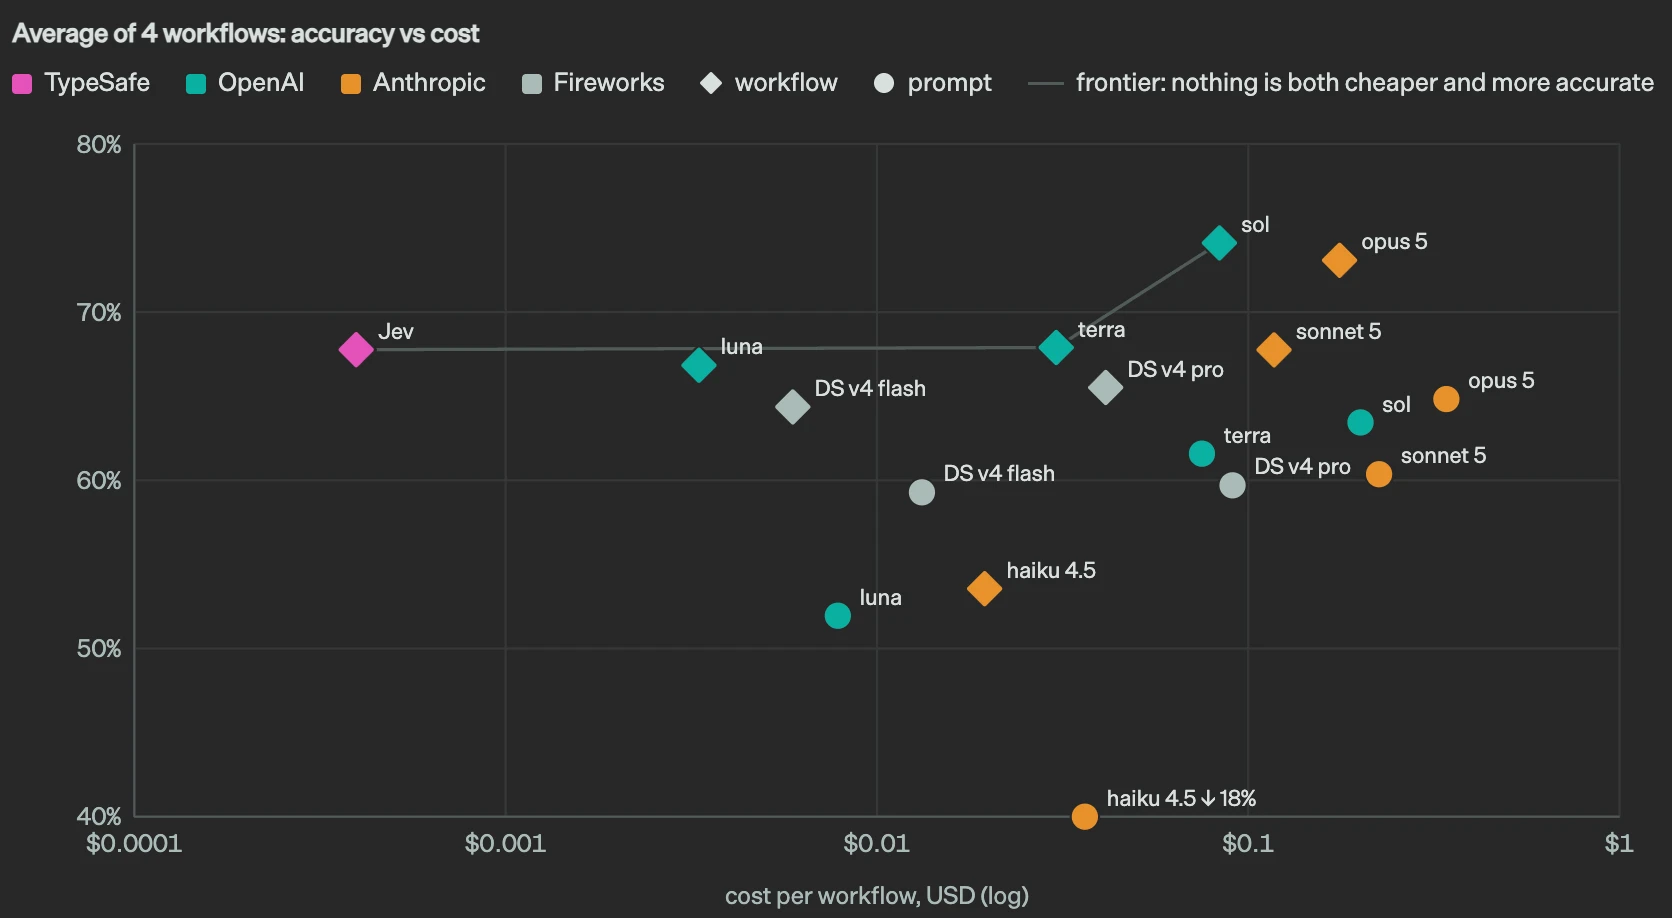
What Jev is, how its typed-decision architecture differs from general LLMs, and what a 300-input emergency-dispatch benchmark revealed about speed, cost, and accuracy.

OpenEZ indexes code and documentation into local SQLite, builds a symbol graph, and exposes bounded retrieval, relationship traversal, and durable project memory through MCP for AI coding agents.
Agent DevKit is a lightweight workflow for reliable AI-assisted development: focused skills, approval-gated planning, systematic debugging, an Obsidian-friendly source-grounded wiki, and optional OpenEZ code intelligence.
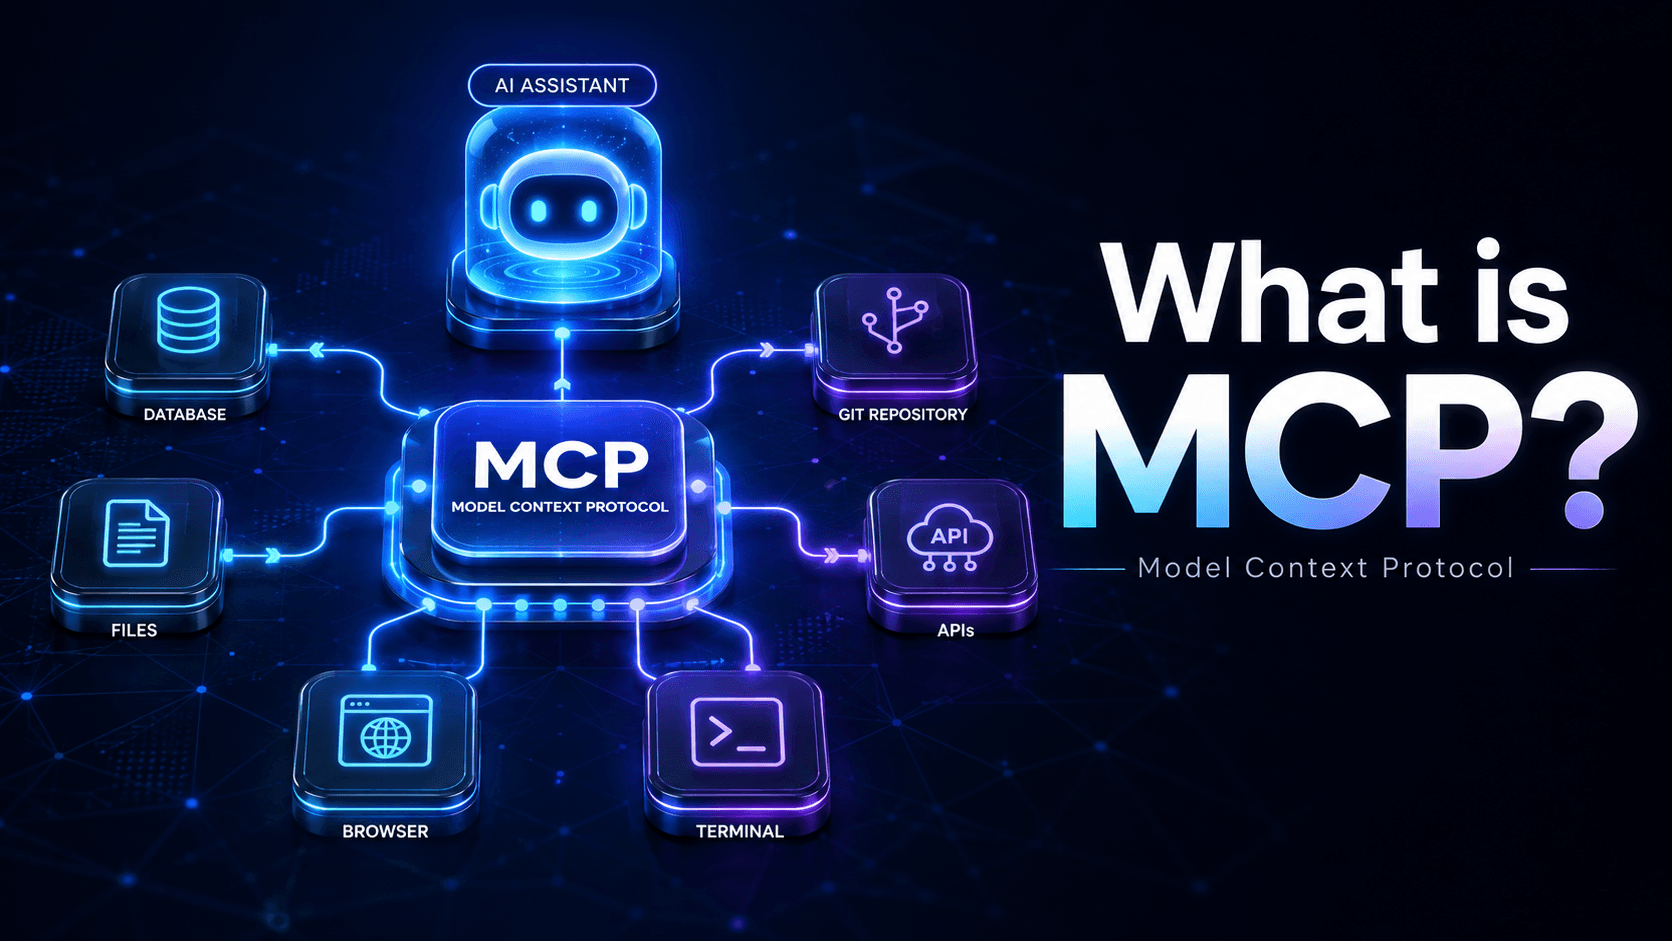
A practical guide to MCP: what it is, how it differs from REST, how to design reliable tools, how to build a minimal MCP server, and how apps or AI agents connect to it in production.
A practical look at Moonshot AI's Kimi K3, why it is trending, how its benchmarks compare, and where it may or may not be useful today.
